GROUNDWORK: build
Generally my slow progress allowed plenty of time to learn about what I needed to do next. I approached this project on a need to know basis and worked on one thing while researching the next level up. It did seem slightly odd at times to be so vague about the next layer but by the time I arrived at something new I tended to know most of what was needed to proceed. Next on the learning curve was bricklaying.
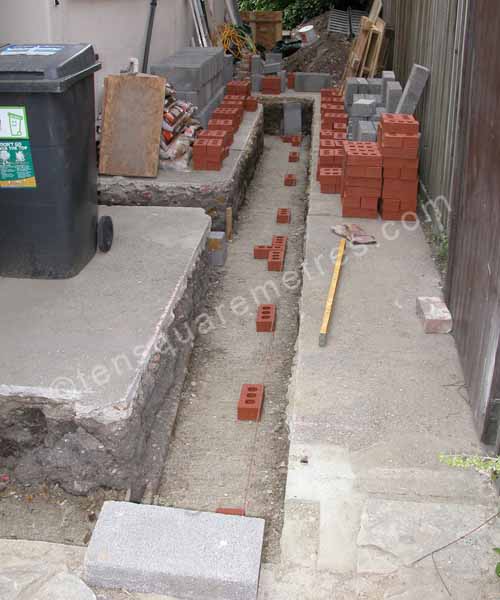 July 2008: Positioning the first course of bricks is crucial. It's square and parallel now or never.
The only reason I started with bricks was because of the intended floor level in the utility room. The block work would serve as shuttering for the concrete floor slab so we needed to stop at a particular height to allow for a step down into the utility room from the kitchen. There is an existing step down into our small internal porch at the front door and we felt the utility should relate to that. It would also give it a different feel to the kitchen. This would also mean that we wouldn't need a step in the new side path which would have been impractical for our wheelie bins. To get to the required level we would need two courses of bricks and a course of breeze blocks. There would then be one more course of blocks to take the wall up to the damp proof course (DPC).
Laying bricks and blocks is a skill. You only need to watch a professional bricklayer to realize quite what an art there is to making walls but much of this skill is in the speed at which they work. A key advantage for our project was that the walls were going to be rendered. My brick and block laying only needed to be vertical and square with gaps in the right places for doors and windows. If you are patient (and no one is paying you by the hour) there is no reason why you can't do bricklaying, but having said that, I am not sure that I would have taken on the whole extension project if it had involved visible brickwork. I certainly would have needed to add brickwork to my list of jobs for the pros.
There are lots of demos on YouTube and internet tutorials about bricklaying and it is probably worth practicing a bit before starting on your actual walls. Invest in a decent spirit level and a proper line, and make a wooden spacer to maintain the correct cavity width. One key thing is the consistency of your mortar. Mix it too wet and the bricks sink, too dry and you can't tap them into position.
 July 2008: The first course is laid. The cavity will be 85mm for the sheets of insulation.
If you have found this website useful please tweet / like / etc... and pass it on!
© 2010- tensquaremetres.com | Privacy | Search | Contact | About