WALLS: materials
I was extremely pleased and relieved to be the sunny side of the drains. It was the end of July and I was finally back out of the ground. I could now start building the walls above the damp course. I had started the block work to get up to the height of the floor slab so I was pretty much picking up where I had left off. The section of the project between the damp course and the roof involved a lot of new materials. Everything would need to be done to the correct spec with set minimum distances, spacing and thicknesses for all the elements. Insulation, wall ties, cavity closers, lintels, weep holes, door frames, there was whole list of new things to learn about.
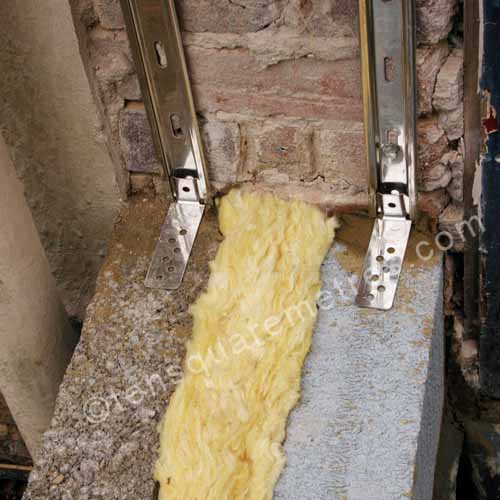 Aug 2008: The three main layers for the wall with 85 mm Crown Dritherm wall insulation.
It was around about this stage in the project that I came across the NHBC website. They have a documents section with really useful guides about good practice for various stages of a build. If you go and look here for the "technical information for builders" section, there are things like the good craftmanship guide - brickwork and blockwork. All the specifications are in line with the current building regs but there are lots of tips about process and avoiding problems.
Our walls were fairly standard. They were going to be rendered so I could just use concrete breeze blocks for the outer skin. The mortar was 3:1 sharp sand to cement. I thought I needed to rake out the mortar on the outside to give the render a key but according to Building Control this wasn't necesairy. The inner skin would have the lightweight Celcon blocks. I used 85 mm Crown Dritherm wall insulation to fill the cavity. Dritherm costs about £20 for seven and half square metres and comes in sheets that are two block courses wide. You can just cut it to size with scissors and slot it in as you go along.
There were starter ties that screw to the existing walls and 225 mm "double triangle or vertical twist" wall ties to hold the two skins together. Wall ties are actually quite expensive and tend to come in rather large quantities (£50 for 250). I only needed about 100 so I got half a box on Ebay for a tenner. At every stage of the project I tried to find ways to economize. Accurate quantity surveying is always a good place to save money. If you can somehow save about 10% at every step on a project like ours you'll have an extra £1500 towards that John Lewis kitchen at the end. The wall ties need to go in every other course at 750 mm staggered centres.
I used other bits and pieces at various points. There needed to be a 25 mm strip of rigid polyisocyanurate thermal insulation (Celotex) across the inside of the door threshold to prevent a cold bridge and cavity closers round the door and window. Above the openings there were catnic lintels with some membrane above to take condensation across to the outer skin. This is where I had to install "weep holes". These are basically plastic tubes about the size of a pencil that allow any moisture to seep out of the cavity. One odd thing that is worth splashing out on is some fancy red bricklaying string. It's slightly stretchy which helps it stay in place and it gives a good taught line. It looks good too.
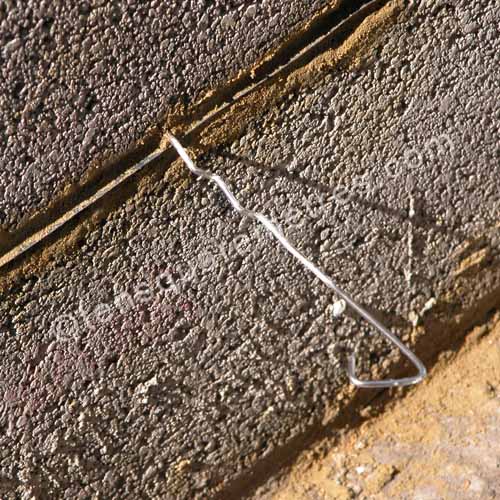 Aug 2008: One of the 225 mm double triangle or vertical twist wall ties.
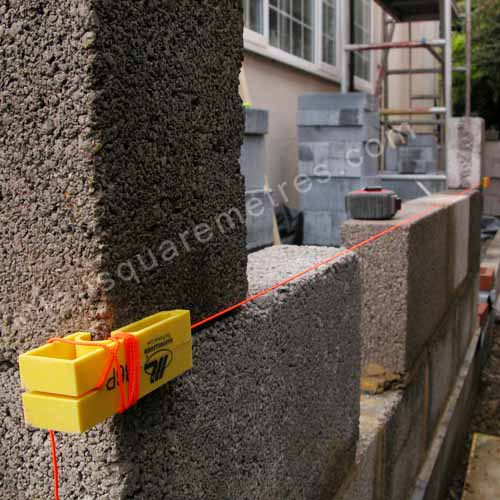 Aug 2008: A proper bricklaying line is really cheap. They are slightly stretchy which helps keep them in place and it gives you a good taught line.
If you have found this website useful please tweet / like / etc... and pass it on!
© 2010- tensquaremetres.com | Privacy | Search | Contact | About