KITCHEN: wiring
The wiring was reasonably straightforward. My electrician who installed the wiring for the utility room had made provision for the kitchen so it was just a case of getting him back to continue off the new consumer unit and replace the existing wiring. All I had to do was pull down the ceiling. Plaster and lathe ceilings cause chaos when you remove them. It isn't difficult - it just makes a huge mess.
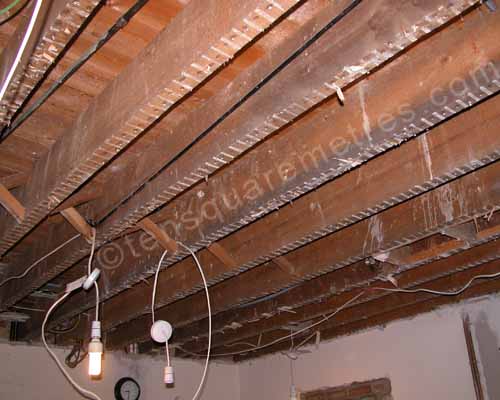
 August 2011: Plaster and lathe ceilings cause chaos when you remove them.
Even though I was now out of Building Control I still wanted to get all my electrical stuff certified. We also took the opportunity to get the main house consumer unit upgraded and the outside stuff in the shed done. The extension project has required the entire house to be re-plumbed (for the boiler) and the gas to be completely removed and reconnected, so it it was good to get all the electrics up to speed as well.
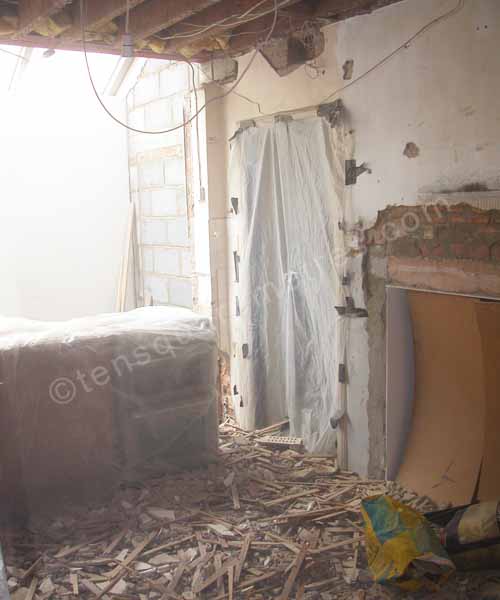
 August 2011: There was a very strange collection of lights and switchs left over from the three original spaces in the kitchen.
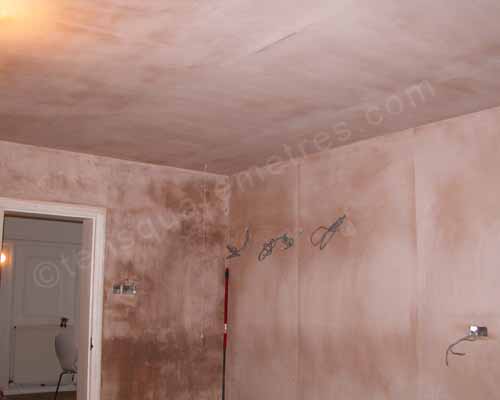
The other element at this stage was the plastering. There was a real mishmash of surfaces and half good existing stuff. In the end we stripped most of it off and started again. The wiring needed to be chased in so there wasn't much left that was worth saving. I had quite a lot of fixing to do around the edges of the ceiling and particularly along the corner formed by the RSJ. It was great to finally see the unified shape of the room once the top coat of the plaster was on. The design concept for the glass roof end had always been a simple floating rectangular space and it was only when the crisp corners of the plaster were finally there that we could see if this would work.
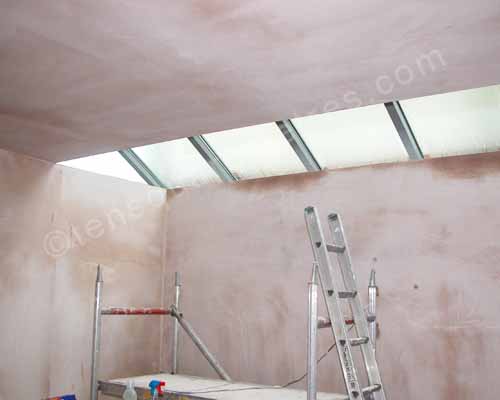 September 2011: We finally get to see how the glass roof works in the kitchen extension space.
The actual plan for the wiring was done according to some John Lewis specifications. The project had been starting to get held up during the summer by the design process. We had got to the point where we needed to get quotes for wiring but we hadn't finalized the kitchen design so we still ween't sure where the key appliances would be. It was quite a big step when this was finally resolved. Our designated kitchen fitter then came over to visit and specified exactly where he wanted all the wires and plumbing to be for the design. The only other thing we needed to plan was the lighting. There were the lit wall cupboards along the side and the corresponding lit shelf at the end, plus LED plinth lights for some ambiance at floor level. The tap also has an LED light in the end although we didn't know this until it arrived with a mysterious three pin plug in the box. Fortunately (if we ever need a lit tap) we had a spare socket under the sink by the built in dishwasher plug. We wanted some bulkhead spotlights under the glass roof on what was once the outside wall of the house and some ceiling spots. We spent quite a long time researching the ceiling lights. Eventually we went for some quite expensive LED spots from a company called Orluna. These are bright, warm white and dimmable. They look great.
 September 2011: An arraw of light switches to the left and provision for thr ovens etc to the right.
 September 2011: This was for the wall socket in the glass splashback, the cupboards lights and the dishwasher socket.
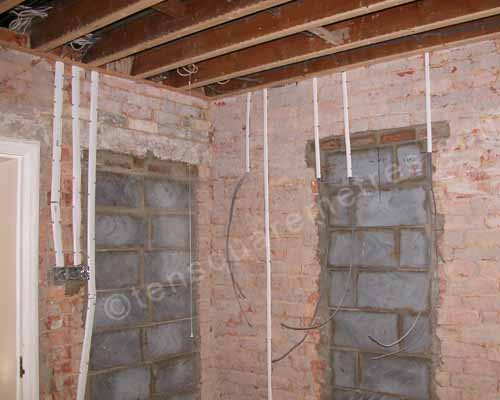
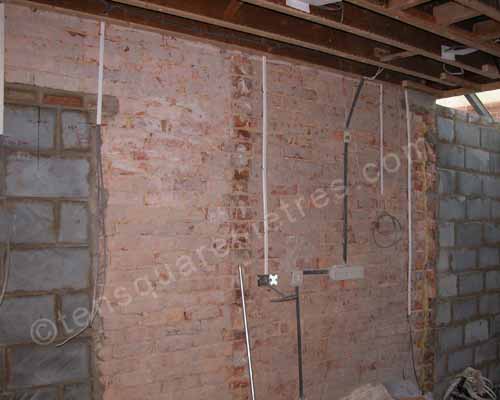
 September 2011: Our John Lewis kitchen fitter had specified exactly what wires should be where. This is the corner with the blocked up doors.
If you have found this website useful please tweet / like / etc... and pass it on!
© 2010- tensquaremetres.com | Privacy | Search | Contact | About