ROOF: install mono pitch glass roof
The installation of the mono pitch glass roof was a key point in the project. Not only did it give us our first glimpse of a finished extension but it also mean't that we could finally demolish the last piece of the outside wall. We could finally lose those awful plastic windows and open up our new kitchen space. It was also something that we got someone else to do. As with the installation of the steel beams, for this stage of the project I could sit back and watch.
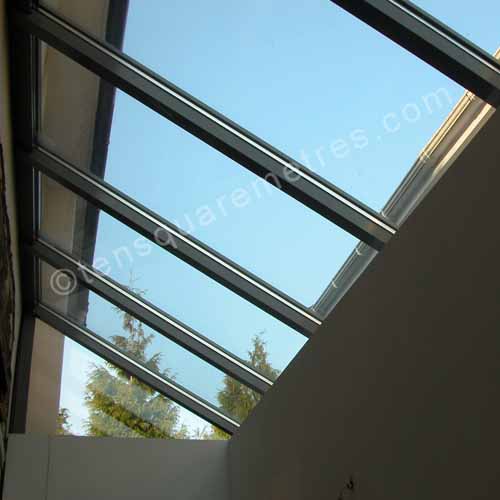 April 2010: The glass roof was key to the whole concept for the house extension. We finally had some light in the gloomy kitchen.
A glass roof extension needs to be custom built. It also needs to be fixed to the existing building. Our mono pitch glass element needed a flat "curb" at the top of the wall. Our installer gave us plans to specify exactly what would be required (see glass planning). They would also make a site visit prior to manufacturing the elements for our particular roof. Once I thought that we were ready for the glass roof installation I called them and one of their installers came to inspect the curb and make some final measurements.
The site visit was extremely reassuring. We were spending about a third of our entire budget on this single element so it needed to fit. It was also useful to discuss some odd details about the surface finishes such as the outside render at the top and how the plaster would work on the inside. I also talked about installing the lead flashing along the top. This would be something I would have to do myself when the glass roof was in place. It was good advice to cut the slot for this in advance. He also suggested that I invest in some glass suction lifters to stop my feet sliding when I climbed on top to fit the lead. These are basically giant suckers. A couple of double ones have worked as excellent foot supports on my slippery glass. You can kneel on the glazing bars and the suction lifters as foot supports.
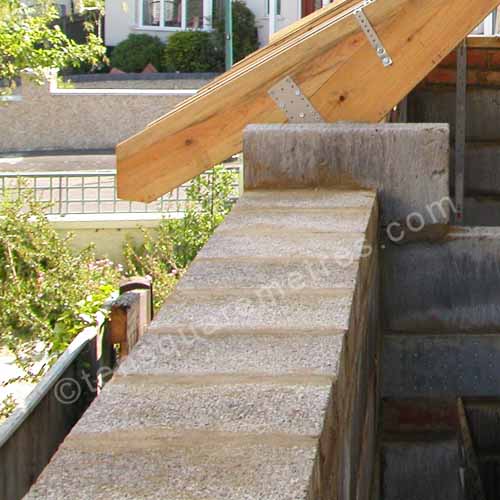 July 2009: The curb at top for the glass roof was made with cut breeze blocks laid horizontally.
The actual manufacturing process was quite quick. We had got the quote for our glass roof before we started the project and based our budget around this. As well as getting permission from Building Control to use this amount of glass, we needed to know that a custom built mono pitch glass roof was affordable. Fortunately the installer honoured the original quote even though it had expired an embarrassingly long time before.
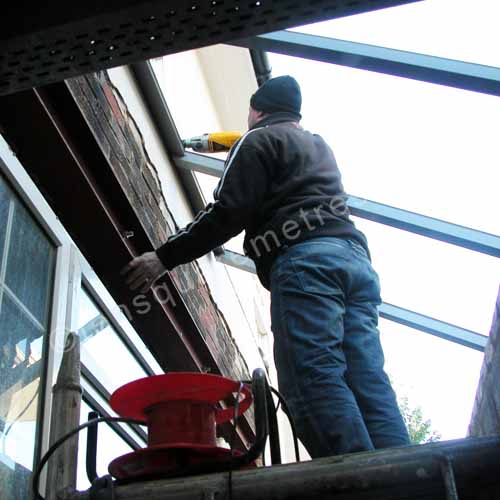 April 2010: The installation took a day with 2 installers.
The roof itself arrived in kit form and was installed in a day. The cost of installation was a relatively small proportion of the overall cost of the glass roof so there really wasn't any point in DIY at this stage. Apart from the lead flashing my only other consideration for the glass roof installation was to do some decorating before the roof was actually fitted. There is a bedroom window above the site for the glass roof and the wooden soffit along the side of the house. These will be quite difficult to access in years to come so I thought I'd paint them now and put that off for as long as possible.
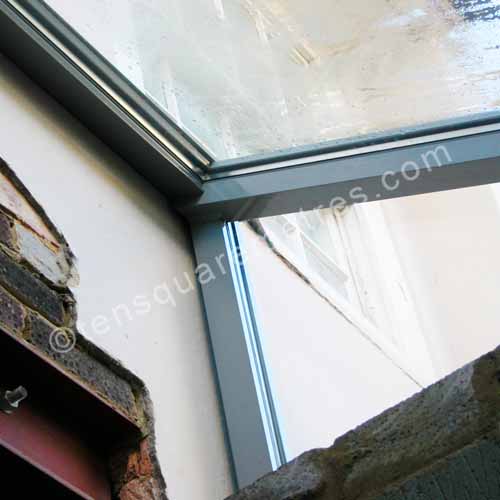 April 2010: The back end of the glass roof has a triangular light. This added to the cost but it looks south west so we now get the sun through here on a summer evening.
If you have found this website useful please tweet / like / etc... and pass it on!
© 2010- tensquaremetres.com | Privacy | Search | Contact | About