UTILITIES: floor slab
The floor slab needed to be continued across into the new half of the room. This was basically a repeat of the procedure for the original floor slab. We had to dig down and add hardcore and a layer of sand. We then joined the damp proof membrane with tape and fixed batons along the sides to give the level.
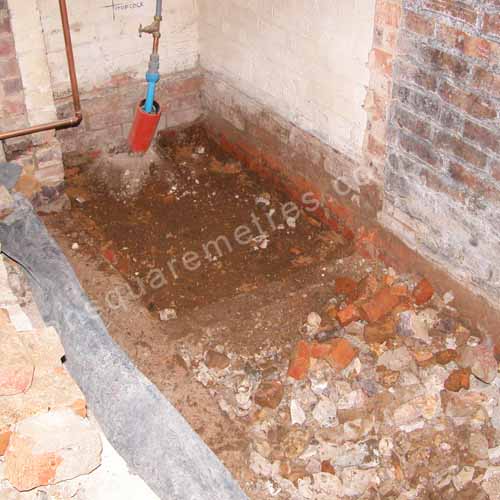 November 2009: As with the main area of teh slab eveything needed digging out to allow for the various layers of the floor slab.
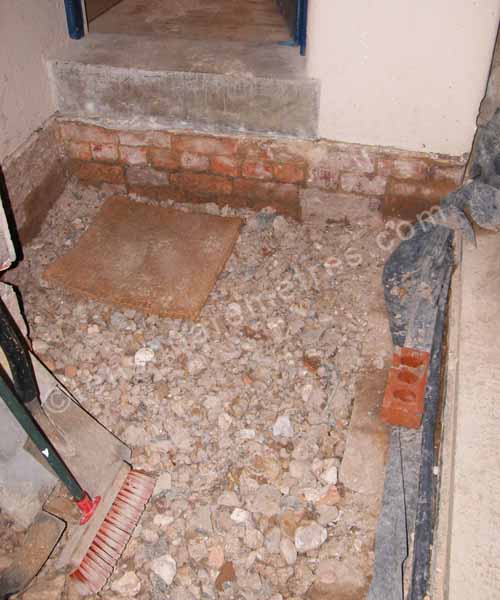 November 2009: The 150 mm hardcore layer is in place and levelled. The remains of the old gas pipe was also chopped out at this stage.
 November 2009: The sand layer was installed to protect the damp proof membrane from the puncture.
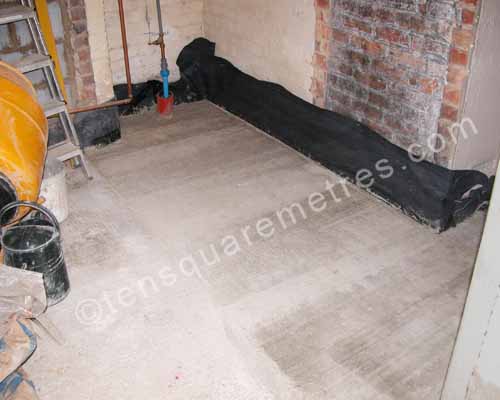
 November 2009: The damp proof membrane was installed and taped at the joins.I also needed to fix some batons along the side for the level.
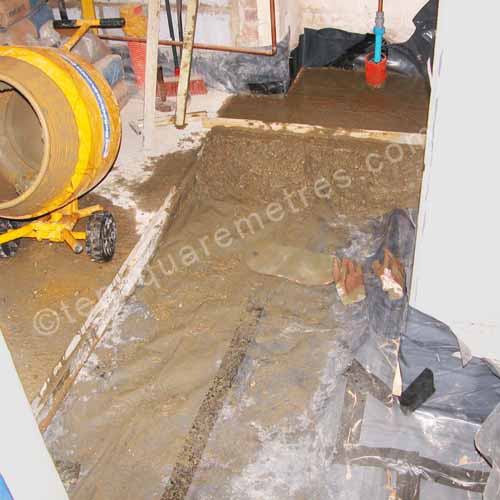
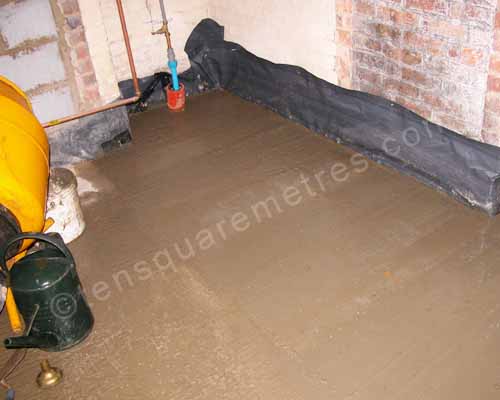 November 2009: Finally the concrete was put in and levelled to the other section of floor slab.
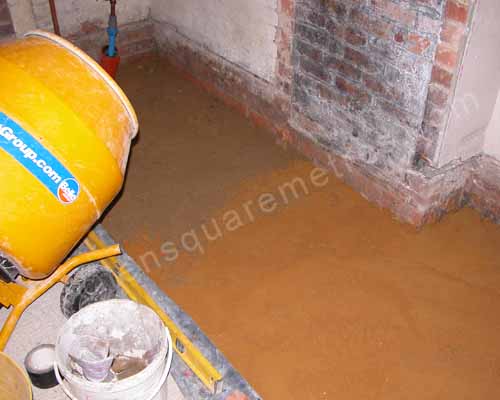
 November 2009: The finished concrete layer for the utility room floor slab.
If you have found this website useful please tweet / like / etc... and pass it on!
© 2010- tensquaremetres.com | Privacy | Search | Contact | About