KITCHEN: floor structure
After the trauma of the having to rebuild the substructure the prospect of the brickwork and floor joists seemed less daunting. At least I was heading back up again. The design for this was fairly clearcut. I just copied the the existing suspended floor. There were two courses of bricks and a wooden plate on which the floor joists would sit. The bricks were spaced with gaps to enhance the subfloor ventilation and there was a slate damp proof course (DPC) in between the brick and timber. Obviously I used contemporary DPC for my bit of floor.
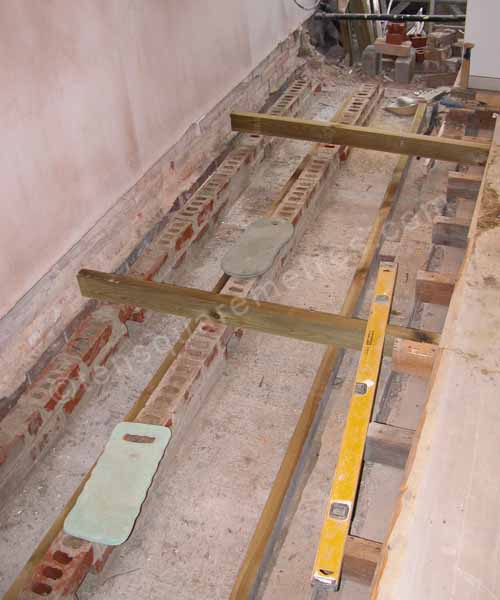 November 2011: Two courses of bricks for a wooden plate. We also installed air bricks along to join the subfloor ventillation to the dining room.
Sub floor ventilation is extremely important and while we had access to the walls under the floor I installed a series of extra air bricks. We had also considered under floor heating for the kitchen. We put under floor heating in our slate floor in London and this was great, but we eventually decided against it for a wooden floor. We have now been through a winter with the floor and I can say that the temperature is fine. Had we gone for a tile surface, which was a possibility at one point in the design process, under floor heating would have been a must.
The other key issue as the floor structure progresses is the level. The closer you get to the surface of the floorboards the truer the surface needs to be. The kitchen plinth would sit along the floor so any margin in the surface would be really be emphasized. I found that the best point to really set the level is where you seat the joists on the plate. So long as the plate timbers at about right you can use shims to set the joists exactly level. A shim is just a thin (often tapered) piece of wood. I got a selection very thin bits of ply from my local model shop. The floorboards are nailed straight down onto the joists so by now it has to be perfect.
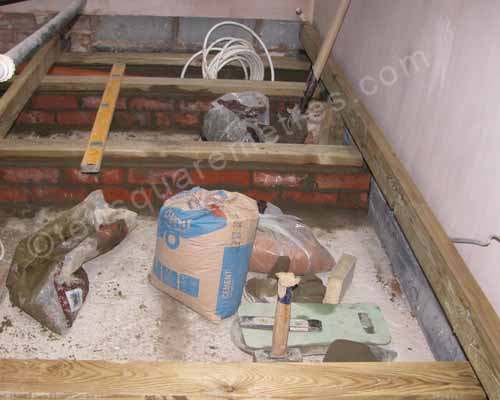
The timber for the plate and joists is 195 x 47mm (4 x 2). I used screws to fix all this which is probably extravagant but I found it useful to be able unscrew elements occasionally, especially when I was trying to set levels. Building regulations stipulate maximum spans for the joists depending on size of timber and spacing. For example, my 195 x 47 (C24) joists at 450 mm spacing could have a clear span of up to about 4 metres. In practice the existing spacing was less than half that. Also, along the wall side I added an extra plate so there would be solid support for the area where the fridge, freezer and ovens would sit. Most councils have online charts with the latest guidelines.
 November 2011: This is the section under the new glass roof.
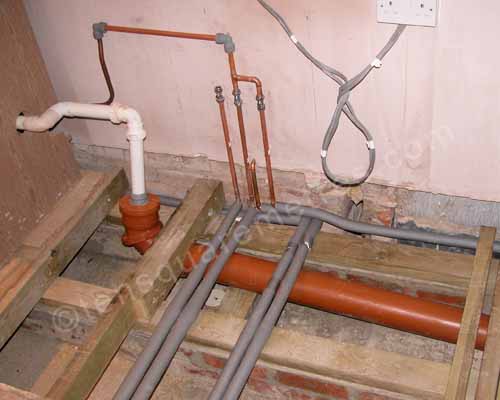 November 2011: This runs down to the back inlet gully that we installed at the back.
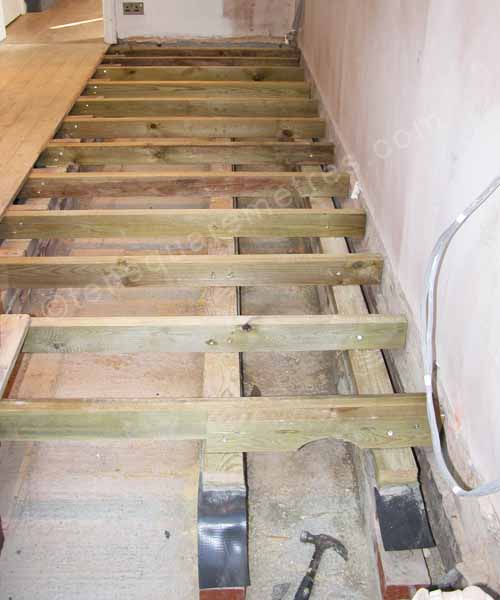 November 2011: The finished floor joists where the old pantry and larder were.
If you have found this website useful please tweet / like / etc... and pass it on!
© 2010- tensquaremetres.com | Privacy | Search | Contact | About